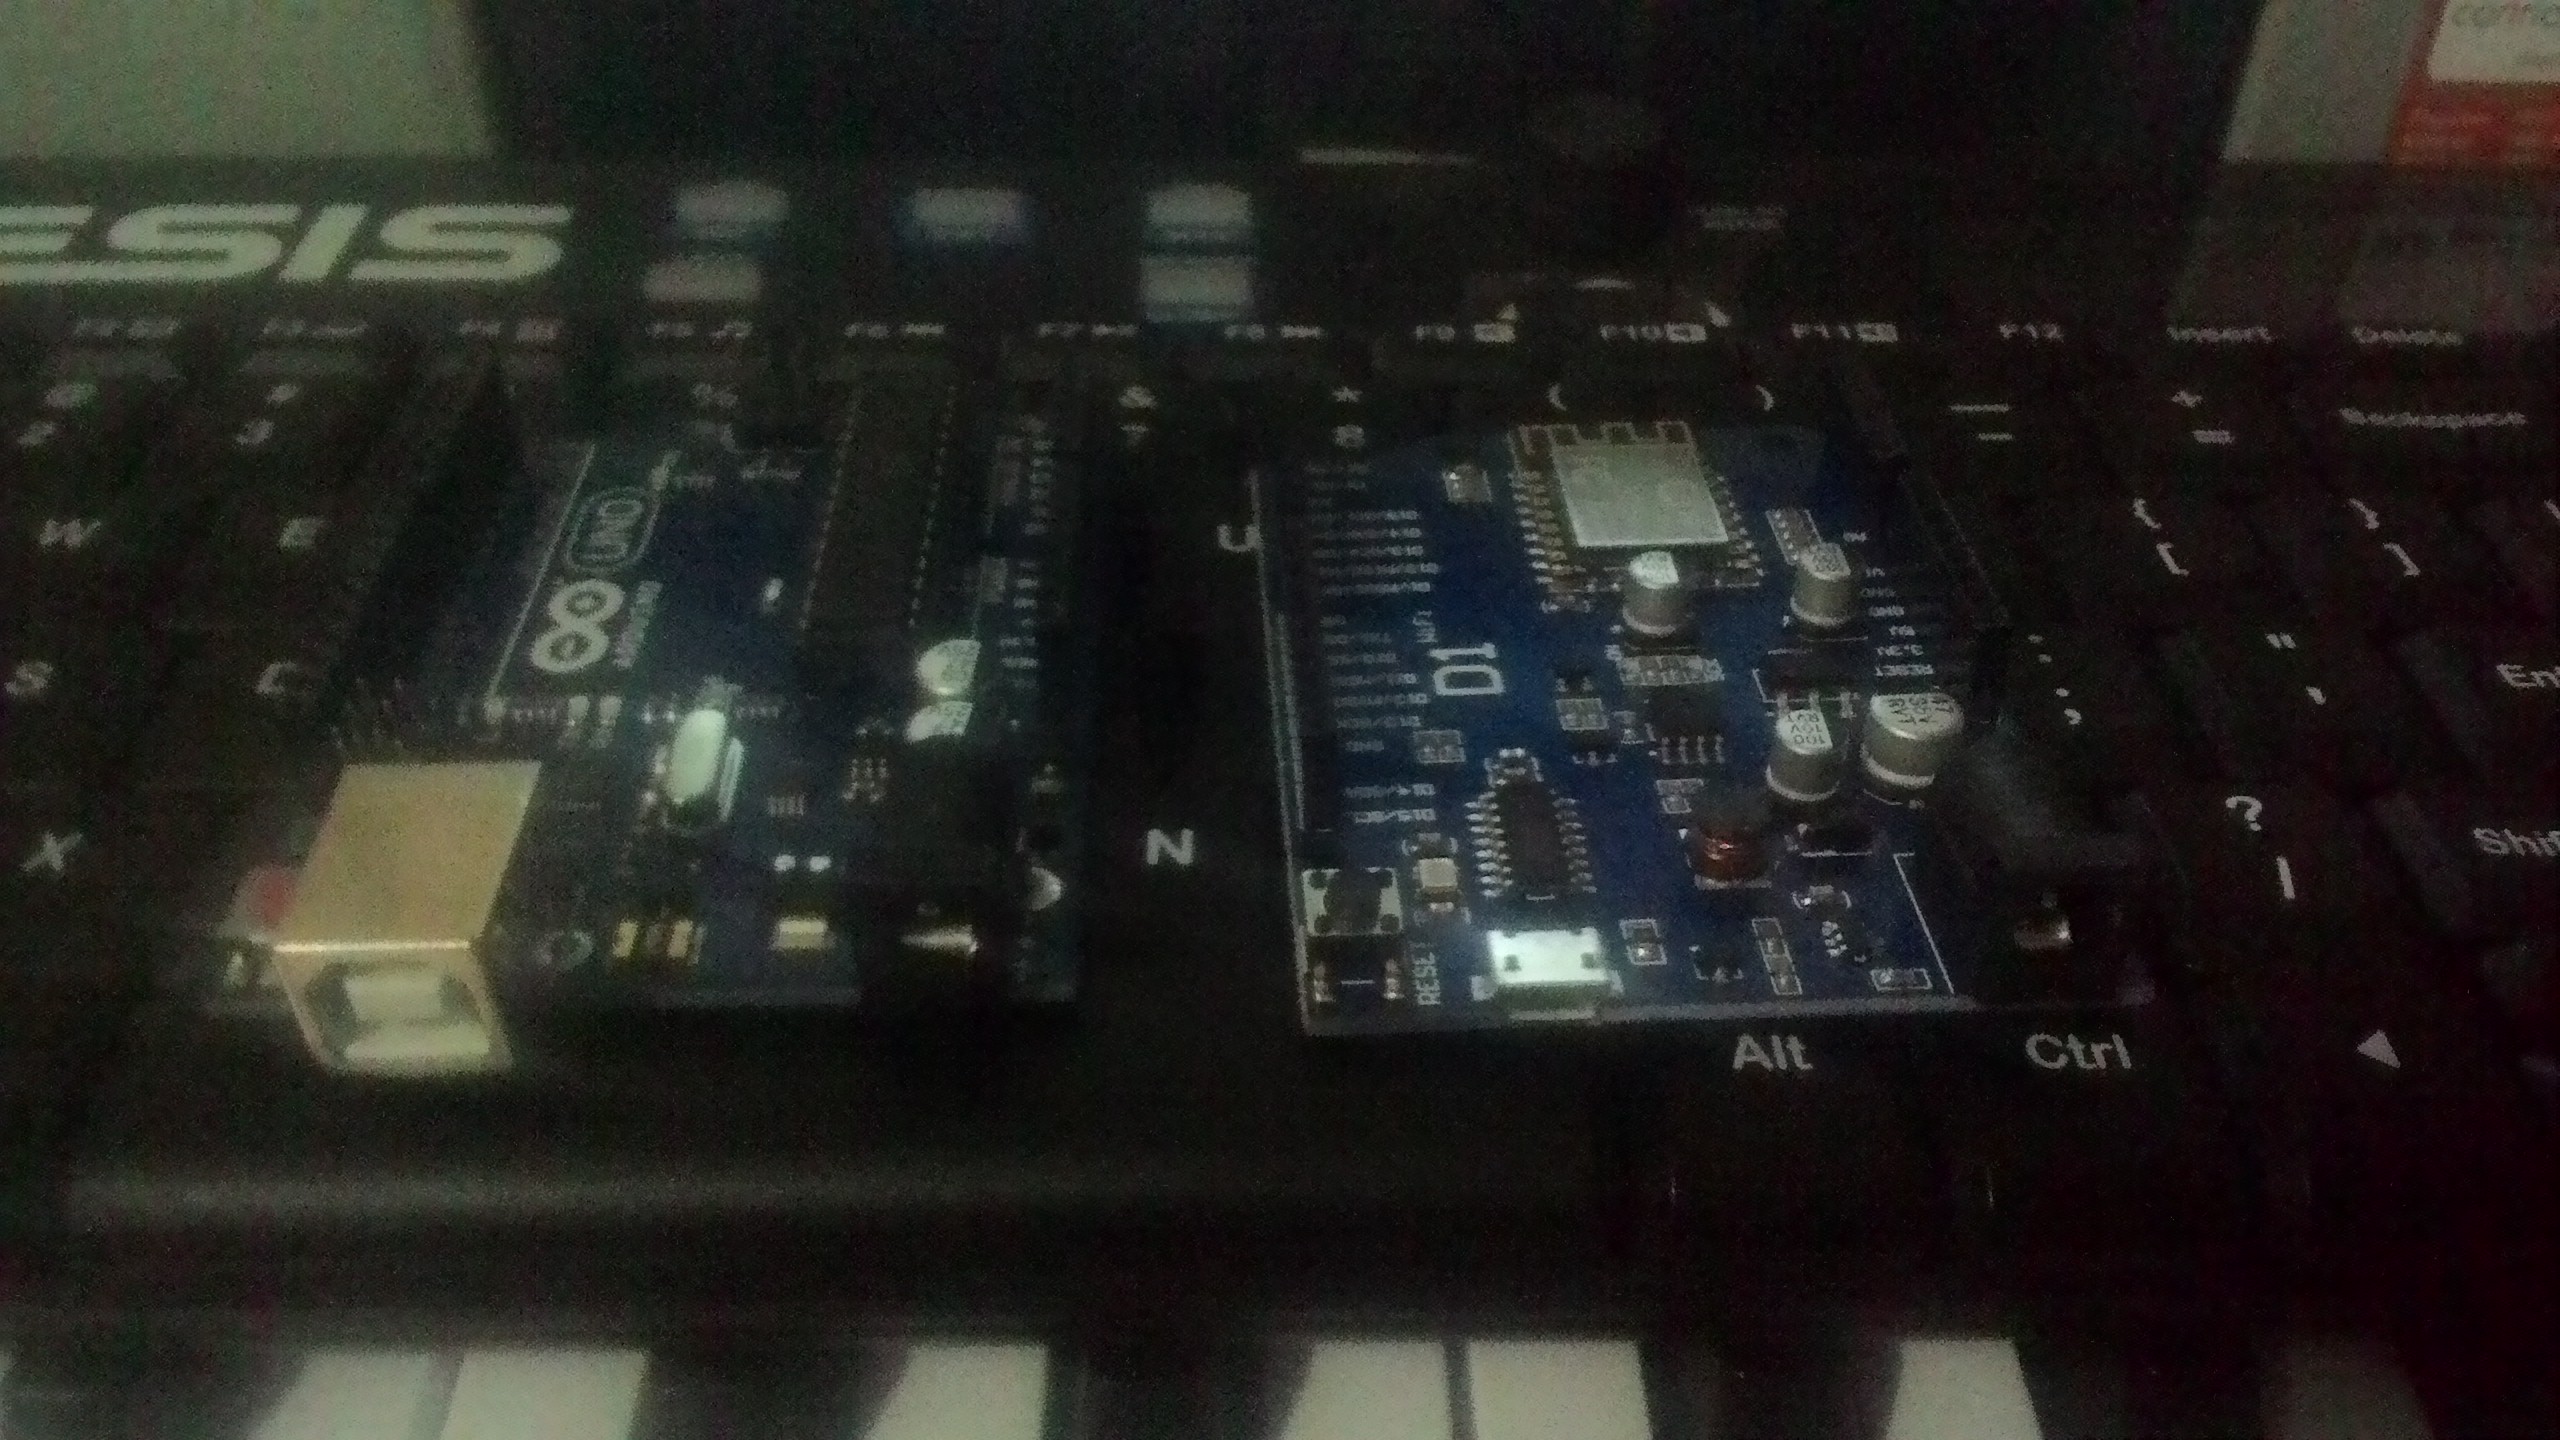
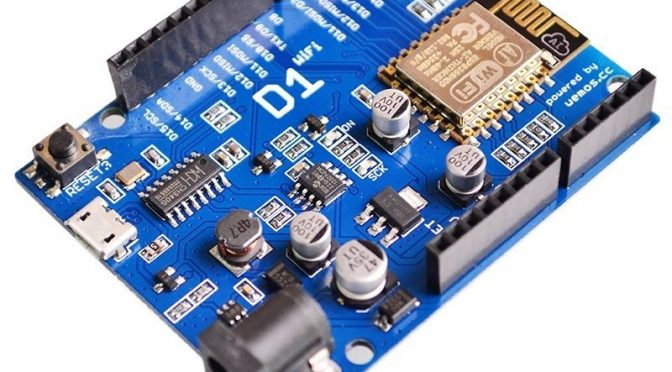
WeMos D1 is an IoT board that is compatible with Arduino Uno … they said. I bought this from Tokopedia for Rp 74,000 (approx US $ 6), and looks not too shabby.

The size, almost the same. The number of PINs is also the same. The difference is just this one used a micro USB, similar to most android phones out there.
This tutorial will discuss how to set up Wemos D1 in Arduino IDE, because this is not real Uno, it needs additional setup.
First, download the Arduino IDE . You can download on arduino web directly, or from mirror on this web.
After that, install the CH340G driver. The website is in Chinese, so it might be a bit difficult. Again, you can download there, or get it from here.
It will request for admin permission. Just press yes.
On this page, click install.
Driver installation is completed. Your Wemos D1 should already be recognized.
Now open the Arduino IDE, then click File -> Preferences
Then put this link on Additional Boards Manager URLs
http://arduino.esp8266.com/versions/2.3.0/package_esp8266com_index.json
Then click Ok. Then open tools, Board, Boards manager.
Scroll to the bottom. On esp8266, click more info, then Install 2.3.0.
Then, clickTools, Board, choose Wemos D1 R2 & Mini.
Now, try to upload code in Examples -> 01. Basics -> Blink. Wemos internal LED should blink.
When uploading, it’s a bit long. Be patient. Learn to be patient. You have been single all of the time, and you can be patient. Why not now? ![]()
Incoming Terms
- Wemos D1 R3
- Arduino D1 Driver
- Driver Wemos
- Cara Instal Driver Wemos D1 Mini
- Instal Driver Wemos
- Cara Instal Board Wemos
- Wemos Driver
- Setup Wemos D1 R2 On Arduino Ide
- Wemos D1 Wifi
- Wemos D1 Wifi Tutorial


